Navigating the Viewer
This page will walk you through the basics of navigating the Rerun Viewer.
By default, the Rerun Viewer uses heuristics to automatically determine an appropriate layout for your data. However, you'll often want precise control over how your data is displayed. Blueprints give you complete control over the Viewer's layout and configuration. For a conceptual understanding of blueprints, see Blueprints.
This guide covers three complementary ways to work with the viewer:
- Interactive configuration: Modify layouts directly in the Viewer UI
- Save and load blueprint files: Share layouts using
.rblfiles - Programmatic blueprints: Control layouts from code
Interactive configuration interactive-configuration
The Rerun Viewer is fully configurable through its UI, making it easy to experiment with different layouts.
Viewer overview viewer-overview

The Viewer consists of:
- Viewport (center): Contains your views, arranged in containers
- Blueprint Panel (left): Shows the visual tree of your blueprint structure
- Selection Panel (right): Displays properties of the selected element
- Time Panel (bottom): Controls timeline playback and navigation
The blueprint defines what appears in the viewport. All changes you make to the viewport are actually changes to the blueprint.
Configuring the view hierarchy configuring-the-view-hierarchy
The viewport contains views arranged hierarchically using containers. Containers come in four types:
- Horizontal: Arranges views side-by-side
- Vertical: Stacks views top-to-bottom
- Grid: Organizes views in a grid layout
- Tabs: Shows views in tabs (only one visible at a time)
Add new containers or views
Click the "+" button at the top of the blueprint panel to add containers or views.

If a container (or the viewport) is selected, a "+" button also appears in the selection panel.

Rearrange views and containers
Drag and drop items in the blueprint panel to reorganize the hierarchy. You can also drag views directly in the viewport using their title tabs.

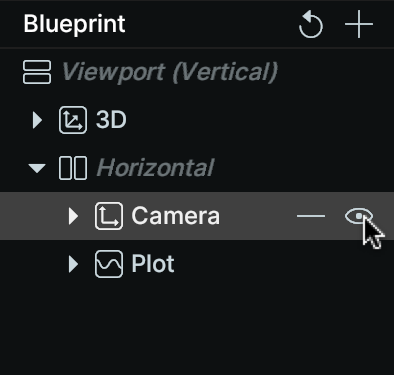
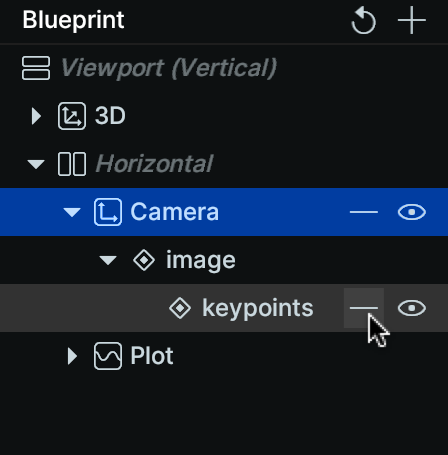
Show, hide, or remove elements
Use the eye icon to show or hide any container, view, or entity:
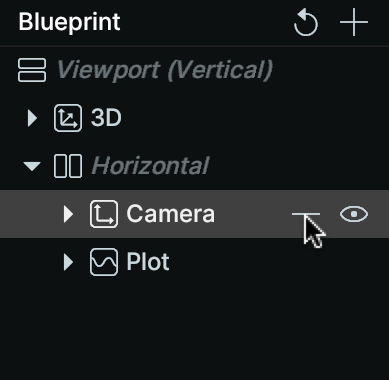
Use the "-" button to permanently remove an element:
Rename views and containers
Select a view or container and edit its name at the top of the selection panel.

Change container type
Select a container and change its type using the dropdown in the selection panel.

Using context menus
Right-click on any element in the blueprint panel for quick access to common operations:
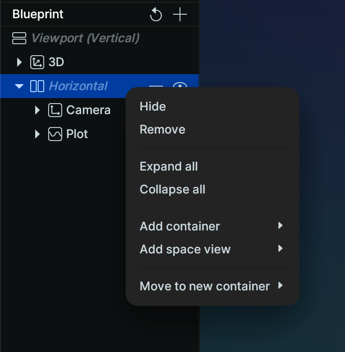
Context menus support multi-selection (Ctrl+click or Cmd+click), enabling bulk operations like removing multiple views at once.
Configuring view content configuring-view-content
Each view displays data based on its entity query. You can modify what appears in a view interactively.
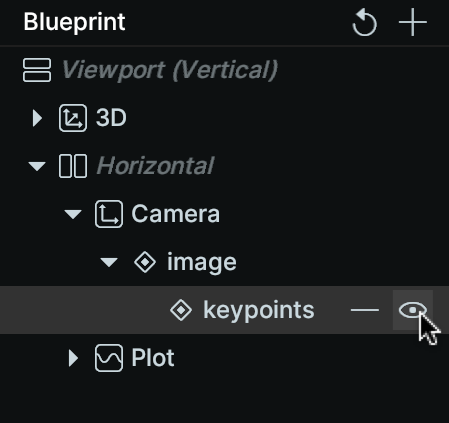
Show or hide entities
Use the eye icon next to any entity to control its visibility.
Remove entities from views
Click the "-" button next to an entity to remove it from the view.
Using the query editor
With a view selected, click "Edit" next to the entity query in the selection panel to visually add or remove entities.

Creating views from entities
Select one or more entities (in existing views or in the time panel's streams), right-click, and choose "Add to new view" from the context menu.

The view's origin will automatically be set based on the selected data.
Overriding visualizers and components overriding-visualizers-and-components
Select an entity within a view to control which visualizers are used and override component values.

When selecting a view, you can also set default component values that apply when no value has been logged.

See Visualizers and Overrides for detailed information.
Save and load blueprint files save-and-load-blueprint-files
Once you've configured your layout, you can save it as a blueprint file (.rbl) to reuse across sessions or share with your team.
Saving a blueprint saving-a-blueprint
To save your current blueprint, go to the file menu and choose "Save blueprint…":
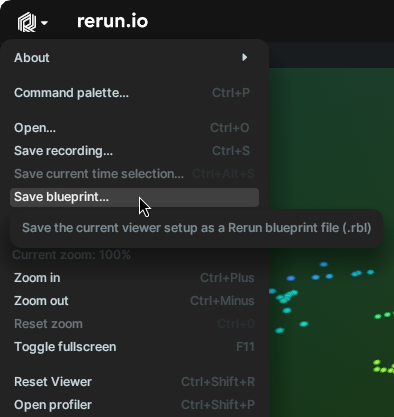
Blueprint files are small, portable, and can be version-controlled alongside your code.
Loading a blueprint loading-a-blueprint
Load a blueprint file using "Open…" from the file menu, or simply drag and drop the .rbl file into the Viewer.
Important: The blueprint's Application ID must match the Application ID of your recording. Blueprints are bound to specific Application IDs to ensure they work with compatible data structures. See Application IDs for more details.
Sharing blueprints sharing-blueprints
Blueprint files make it easy to ensure everyone on your team views data consistently:
- Configure your ideal layout interactively
- Save the blueprint to a
.rblfile - Commit the file to your repository
- Team members load the blueprint when viewing recordings with the same Application ID
This is particularly valuable for:
- Debugging sessions: Share the exact layout needed to diagnose specific issues
- Presentations: Ensure consistent visualization across demos
- Data analysis: Standardize views for comparing results
Next steps next-steps
- Explore view types: Check the View Type Reference to see all available views and their configuration options
- Learn about overrides: See Visualizers and Overrides for per-entity customization
- API Reference: Browse the complete Blueprint API for programmatic control